DIY

Free DIY Knitted Dog Sweater Pattern & How To Guide

Looking to make the perfect DIY dog sweater for your canine companion? Follow all of the steps below to knit the perfect sweater for your pup!

Jeff Butler

Last Updated: January 27, 2023 | 7 min read

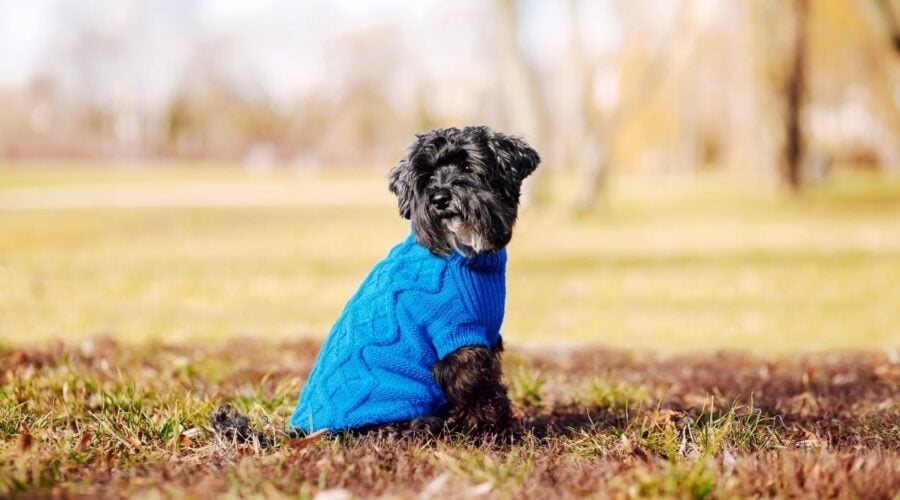
Dog in blue sweater sitting outside

Are you looking to knit your pup a DIY Dog Sweater for the holidays or other cooler weather events? Finding the perfect dog sweater to match your canine’s perfect personality can be a challenge unless, of course, you know how to knit. If you do, creating your own dog sweater is an option and allows you to match your pup’s personality with your chosen colors.

This knitted dog sweater pattern looks complex but can be worked by beginners. We’ve therefore added basic information about knitting gauges and measuring. If you need something for cooler weather, check out our dog shirt patterns.

It was created as a large dog sweater but could be adapted for smaller dogs, perhaps by using fewer panels.

Important Suggestion: Please first read carefully through all the instructions.

Knitted Dog Sweater Construction

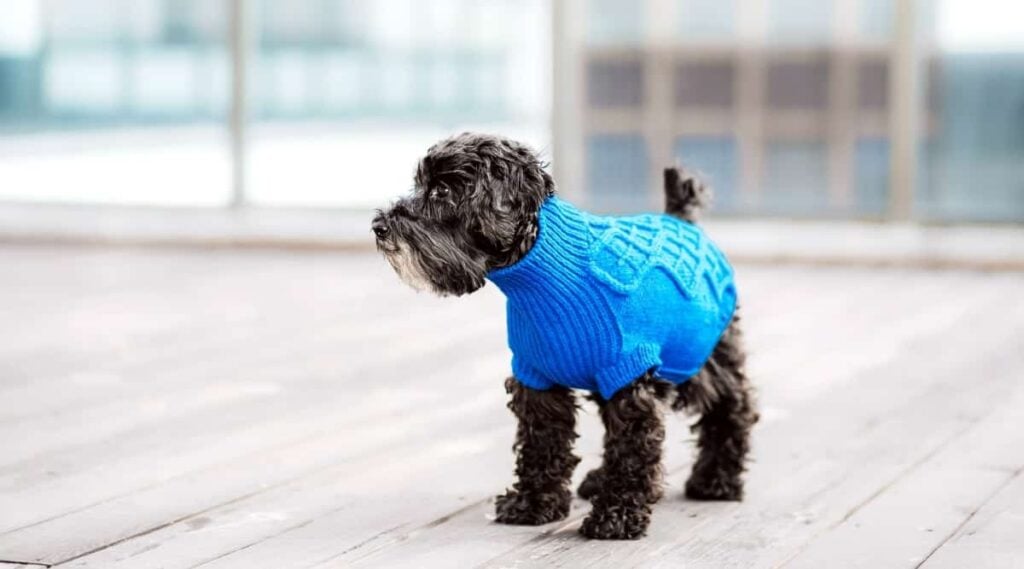
Black Schnauzer in blue dog sweater
Make sure to follow each set of instructions, and purchase the proper materials.

The completed sweater consists of 8 narrow panels. These include 5 different patterns made of simple combinations of basic knit (K) and purl (P) stitches.

Keeping the panels narrow makes it quick to do a row and easy to pull out stitches and re-do if you’ve made a mistake.

Materials & Tools

  • 2 or 3 skeins 8oz Worsted Weight, Sport, or DK yarn for dogs over 45 lbs
  • If the sweater will be getting wet a lot, use wool or at least a 50% wool blend since wool stays warm when it gets wet while synthetic yarns do not
  • One pair knitting needles to match the yarn weight
  • A sewing or darning needle with an eye large enough for the yarn
  • About 8 inches of Velcro or 4 large buttons

Gauge & Measurements

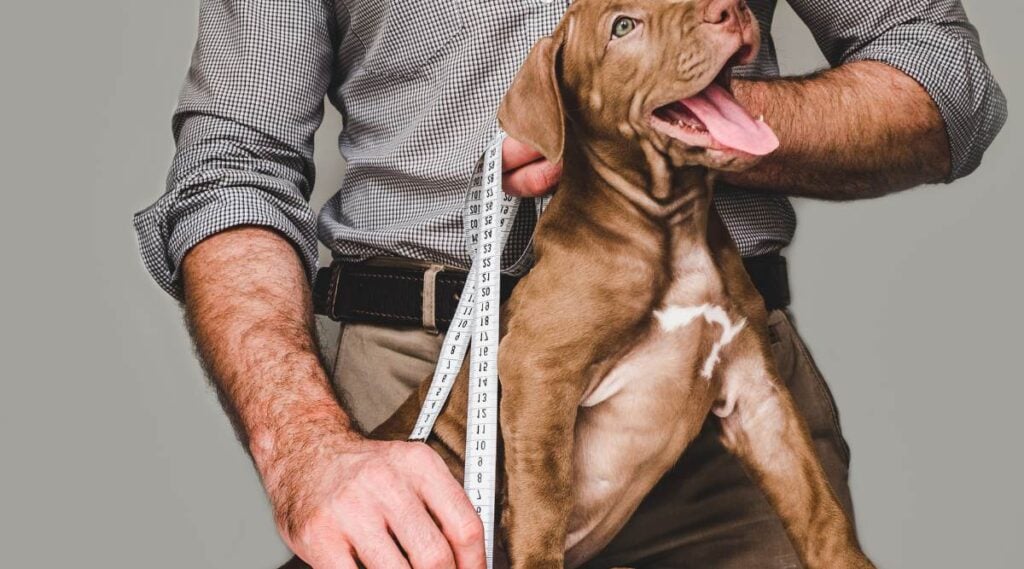
man measuring dog with measuring tape
When starting out, it’s important to get the gauge you’ll need, as well as the measurements of your pup.

Getting the measurements of your dog wrong will ensure that your pup’s sweater has nothing but a poor fit. Follow the steps below for the best results.

Gauge

Figure out how many stitches you knit per inch – your gauge or tension (see Gauge & Why It Matters):

  • Using the knit stitch, make a swatch (test piece) 20 stitches wide by 10 rows up
  • Measure how many stitches per inch you made across and how many rows up [for metric, use mm or cm]
  • Write down this information

Width Or Torso Measurement:

  • Measure your dog around the torso from between the middle of the shoulder blades to behind the front legs and back up
  • Take this torso measurement and divide it by 5
  • Comet’s torso was 29 inches, so that meant his knitted dog sweater measurements came to five 5-inch sections with a remainder of one 4-inch section to create as a filler [in retrospect, I could have created five 5.8-inch sections instead since 29/5 = 5.8]
  • Since my knitting tension is 4 stitches per inch, I cast on 20 stitches (4 st per inch x 5 inches) for each section

If your knitting tension is 5 stitches per inch, you will cast on 24 or 25 stitches, depending on whether the row needs an even number of stitches or not, for a dog with a 29-inch torso. Naturally, the numbers change for different size torsos. 

Length Measurements:

There will be three important lengths:

  1. Starting with the shoulders to the base of the tail = base length
  2. From between the shoulders to the end of the rib cage = side length
  3. From behind the front legs to the end of the rib cage = the belly length

Measure the lengths and write them down.


Basic Knitted Dog Sweater Pattern Instructions

girl in bed knitting next to beagle dog
This section provides instructions on how to make up to eight different panels that make up this basic knitted dog sweater pattern.

Panel sections are sewn together by hand. The narrow widths mean you complete rows quickly.


Panel 1: Patchwork Design

This will be your longest panel.

  1. Cast on your chosen number of stitches – an even number is required
  2. Row 1: K4, P4 to end
  3. Row 2: P4, K4 to end
  4. Repeat till you’ve completed 8 rows
  5. Row 9: P4, K4 to end
  6. Row 10: K4, P4 to end
  7. Repeat until you’ve completed Row 16 then do Rows 1 through 16 again
  8. Stop when the section reaches your base length
  9. For a fancy edge, do the last 3 rows in plain knit stitch
  10. Final Row (casting off): Knit the first two stitches, then pull the first stitch over the second so you only have one loop left on the needle
  11. Knit the next stitch and do the same
  12. Continue till all the stitches, except the last one, have been cast off
  13. Snip off the yarn at about 12 inches [30 cm]
  14. Widen the last loop by pulling on the loose end until it’s all the way through and then tighten it

Ta da! You’re done with the first section of the basic knitted dog sweater pattern!


Panels 2 & 3: Stockinette Stripes

These sections go on either side of the Patchwork section and are worked from the neck end toward the tail:

  1. Cast on the same number of stitches as the Patchwork panel
  2. Row 1: K4, P4, K4, P4, K4
  3. Row 2: P4, K4, P4, K4, P4
  4. Repeat till the length of your section reaches the side length

You now want to taper these panels so that you avoid the dog’s private parts when you put the sweater on:

  • Decrease 1 stitch every other row (the one that starts with K4) by knitting the first two stitches and pulling the first stitch over the second.
  • Decrease until you have removed one stripe of knit and one stripe of purl.

If you have no stripes left at this point, simply cast off.

If you do have a set of stripes left, keep following the pattern of K4, P4 in one row and P4, K4 in the next few rows, without decreasing. Once your stockinette section is level with the beginning row of the last set of patches on the Patchwork Panel, do the following:

  • Decrease 2 stitches every other row by knitting the first and second stitches, pulling the first over the second, then knitting the third stitch, and pulling the second over the third.
  • With any remaining stitches, keep doing the pattern but switch to plain knit stitch for the last 3 rows to match the fancy edge on the Patchwork Panel.

Panel 4: Broken Rib

You can choose to put this section on either the right or left-hand side of the Stockinette Stripes. Note that you will also work Panels 4 and 5 from the neck toward the tail end.

  1. Cast on the same number of stitches as the Patchwork panel.
  2. Row 1: K all the way across.
  3. Row 2: P1, K1 to the end.
  4. Repeat Rows 1 and 2 till you’re about 3 rows short of the tapered end of the Stockinette Stripes panel.
  5. Now do 3 rows of plain knit stitch to make the fancy edge, then cast off the remaining row.

Panel 5: Moss Stitch

This one will go on the other side of the Stockinette Stripes:

  1. Cast on the same number of stitches as the Patchwork Panel
  2. Row 1: K1, P1, repeat to end
  3. Row 2: K1, P1, repeat to end
  4. Row 3: P1, K1, repeat to end
  5. Row 4: P1, K1, repeat to end
  6. Repeat Rows 1 to 4 till you are about 3 rows from the tapered end of the Stockinette Stripes panel.
  7. Do your 3 rows of knit stitches to make the fancy edge.
  8. Cast off the remaining row.

Panels 6 & 7: Filling In

We used plain Stockinette stitch (one row K, one row P) for these two sections on either side of Panels 4 and 5. (You could elect to do just one section to attach one side.)

Use any pattern you want since this will end up underneath your dog’s belly. It doesn’t matter whether you have an even or odd number of stitches.

The length of the panel(s) can vary – you are trying to connect the sweater under your dog’s belly, and you want to avoid contact with the private parts and dog pee. Therefore, if you are knitting for a female dog, you can make the panel(s) longer than when knitting for a male dog.


Panel 8: Neck & Rib Stitch

This will be a departure from the short rows.

Cast on the number of stitches needed to go around your dog’s neck as follows:

  1. Measure the neck in inches
  2. Take the number of stitches you knit per inch and multiply by the above measurement
  3. Divide that number by 12 since that is the number of stitches for each part of the repeating pattern below. Discount any remainder. For example, your dog’s neck is 16 inches. You knit 4 stitches per inch. 16×4 = 64 stitches. If you divide 64 by 12, you get 5 with a remainder of 4. You will want to cast on 64-4 = 60 stitches. (The 5 is not relevant except to get the remainder)

Here’s the variation I used on the Rib Stitch pattern:

  1. Row 1: K3, P2, K3, P1, K3 – repeat pattern to end
  2. Row 2: P3, K1, P3, K2, P3 – repeat pattern to end.        (Basically, wherever you have a knit stitch in the previous row,    you’re going to have a purl stitch in the next.)
  3. Repeat Rows 1 and 2 until your neck portion is 3 to 4 inches high
  4. Cast off

Finishing Your Sweater Pattern

woman knitting dog jacket
Here’s where you join all your basic knitted dog sweater pattern pieces together.

We recommend you use the weaving pattern (the first method) and follow the steps listed below.

  1. Thread the yarn end from a finished section or a new piece of matching yarn through a large-eyed needle.
  2. Sew your Striped Stockinette sections to the Patchwork panel first, putting the wrong sides together with the straight edge toward the tail end and the tapered end toward the neck.
  3. Next, add your Moss and Broken Rib sections on either side Then add your Fill-In section (if you needed one) to either the Moss or Broken Rib.
  4. Add the Ribbed Neck section to the sections already sewn together. (You should have a long straight edge along the Patchwork and Stockinette Stripes sections. Pin it first to make sure it’s evenly distributed)
  5. Sew the neck section of your knitted dog sweater closed, so you now have something to pull over your dog’s head.
  6. Try it on your dog. Knit another section for under the belly if your Fill-In section is not wide enough.
  7. Use Velcro or ribbons for fastening the belly sections together.

Congratulations, you’ve followed the basic knitted dog sweater pattern to make a garment that your dog ought to be proud to wear!

The information provided through this website should not be used to diagnose or treat a health problem or disease; it is not intended to offer any legal opinion or advice or a substitute for professional safety or care advice. Please consult your health care provider, attorney, insurance expert, or product manual for professional advice. Products and services reviewed are provided by third parties; we are not responsible in any way for them, nor do we guarantee their functionality, utility, safety, or reliability. Our content is for educational purposes only.

Leave a Comment